It’s the 4th Quarter baby! For most of us, we’re heading into the last quarter of the year and school is winding to a close.
This is, of course, AWESOME because who doesn’t love summer? (For real, I love my job…but not having to work for 2-3 months? it’s freaking amazing).
As we get closer to the end of the year, here are 10 Tips and Tricks for Packing up your classroom (and I am writing them to try and force myself to do them…)
As always, these are my own opinions and thoughts and let’s be honest…goals.
Tip 1: Don’t be a Hoarder
Starting off spicy. This is the reminder to throw stuff away. Not everything. If you have an extra class set of that one project because you accidentally made copies twice…stash that baby somewhere and pull it out next year. But if you’ve been holding on to that one game for main idea and you haven’t played it in 5 years…it it time to say goodbye, my friend.
As teachers, this is really hard for us to do sometimes because we see the possibility of so many things. Hear me out, though. If you have a worksheet on your google drive AND an external hard drive/computer/if you’re old like me a flash drive, then you do not need a paper copy. I have been working on this for a few years and I’ve gone from 21 binders to just 4. Let me tell you, storing 4 binders is way easier than storing 21.
Same goes for those workbooks. If you haven’t made a copy from whatever workbook it is in years, let it go. Get some of your space back. Your August self will love the May/June you who threw away all the random things collected over the year and all the things you really don’t use any more. And no, that baby teacher does not want your ratty old binder of social studies packets. Toss them out.
I still remember when I got to one of my classrooms, the teacher had binders with the standards printed in them. Now, you can print and organize your standards if you want, but in this case there were two sets and both sets were over ten years old and no longer up-to-date. Like I was throwing away 1999 standards in 2017.
So don’t be a hoarder. Going back to my 10 tips for classroom setup, tip #7 – a purpose and place for everything. If it doesn’t have a concrete purpose OR a place, it needs to go bye-bye.
And while you’re throwing things away, clean out those “Miscellaneous” bins and drawers and baskets.
Tip 2: The “Stuff I need first”
May/June you is not August you. August you has had a whole summer to completely forget what drawer you put your scissors in and where that tape is…so help August you out. This is a tip I learned when I moved into my house and it was just so helpful. The house version is called “first day box” and you put all the things you’re going to need first – toilet paper, paper towels, scissors, box cutter, tape, sharpie, cleaning supplies, etc.

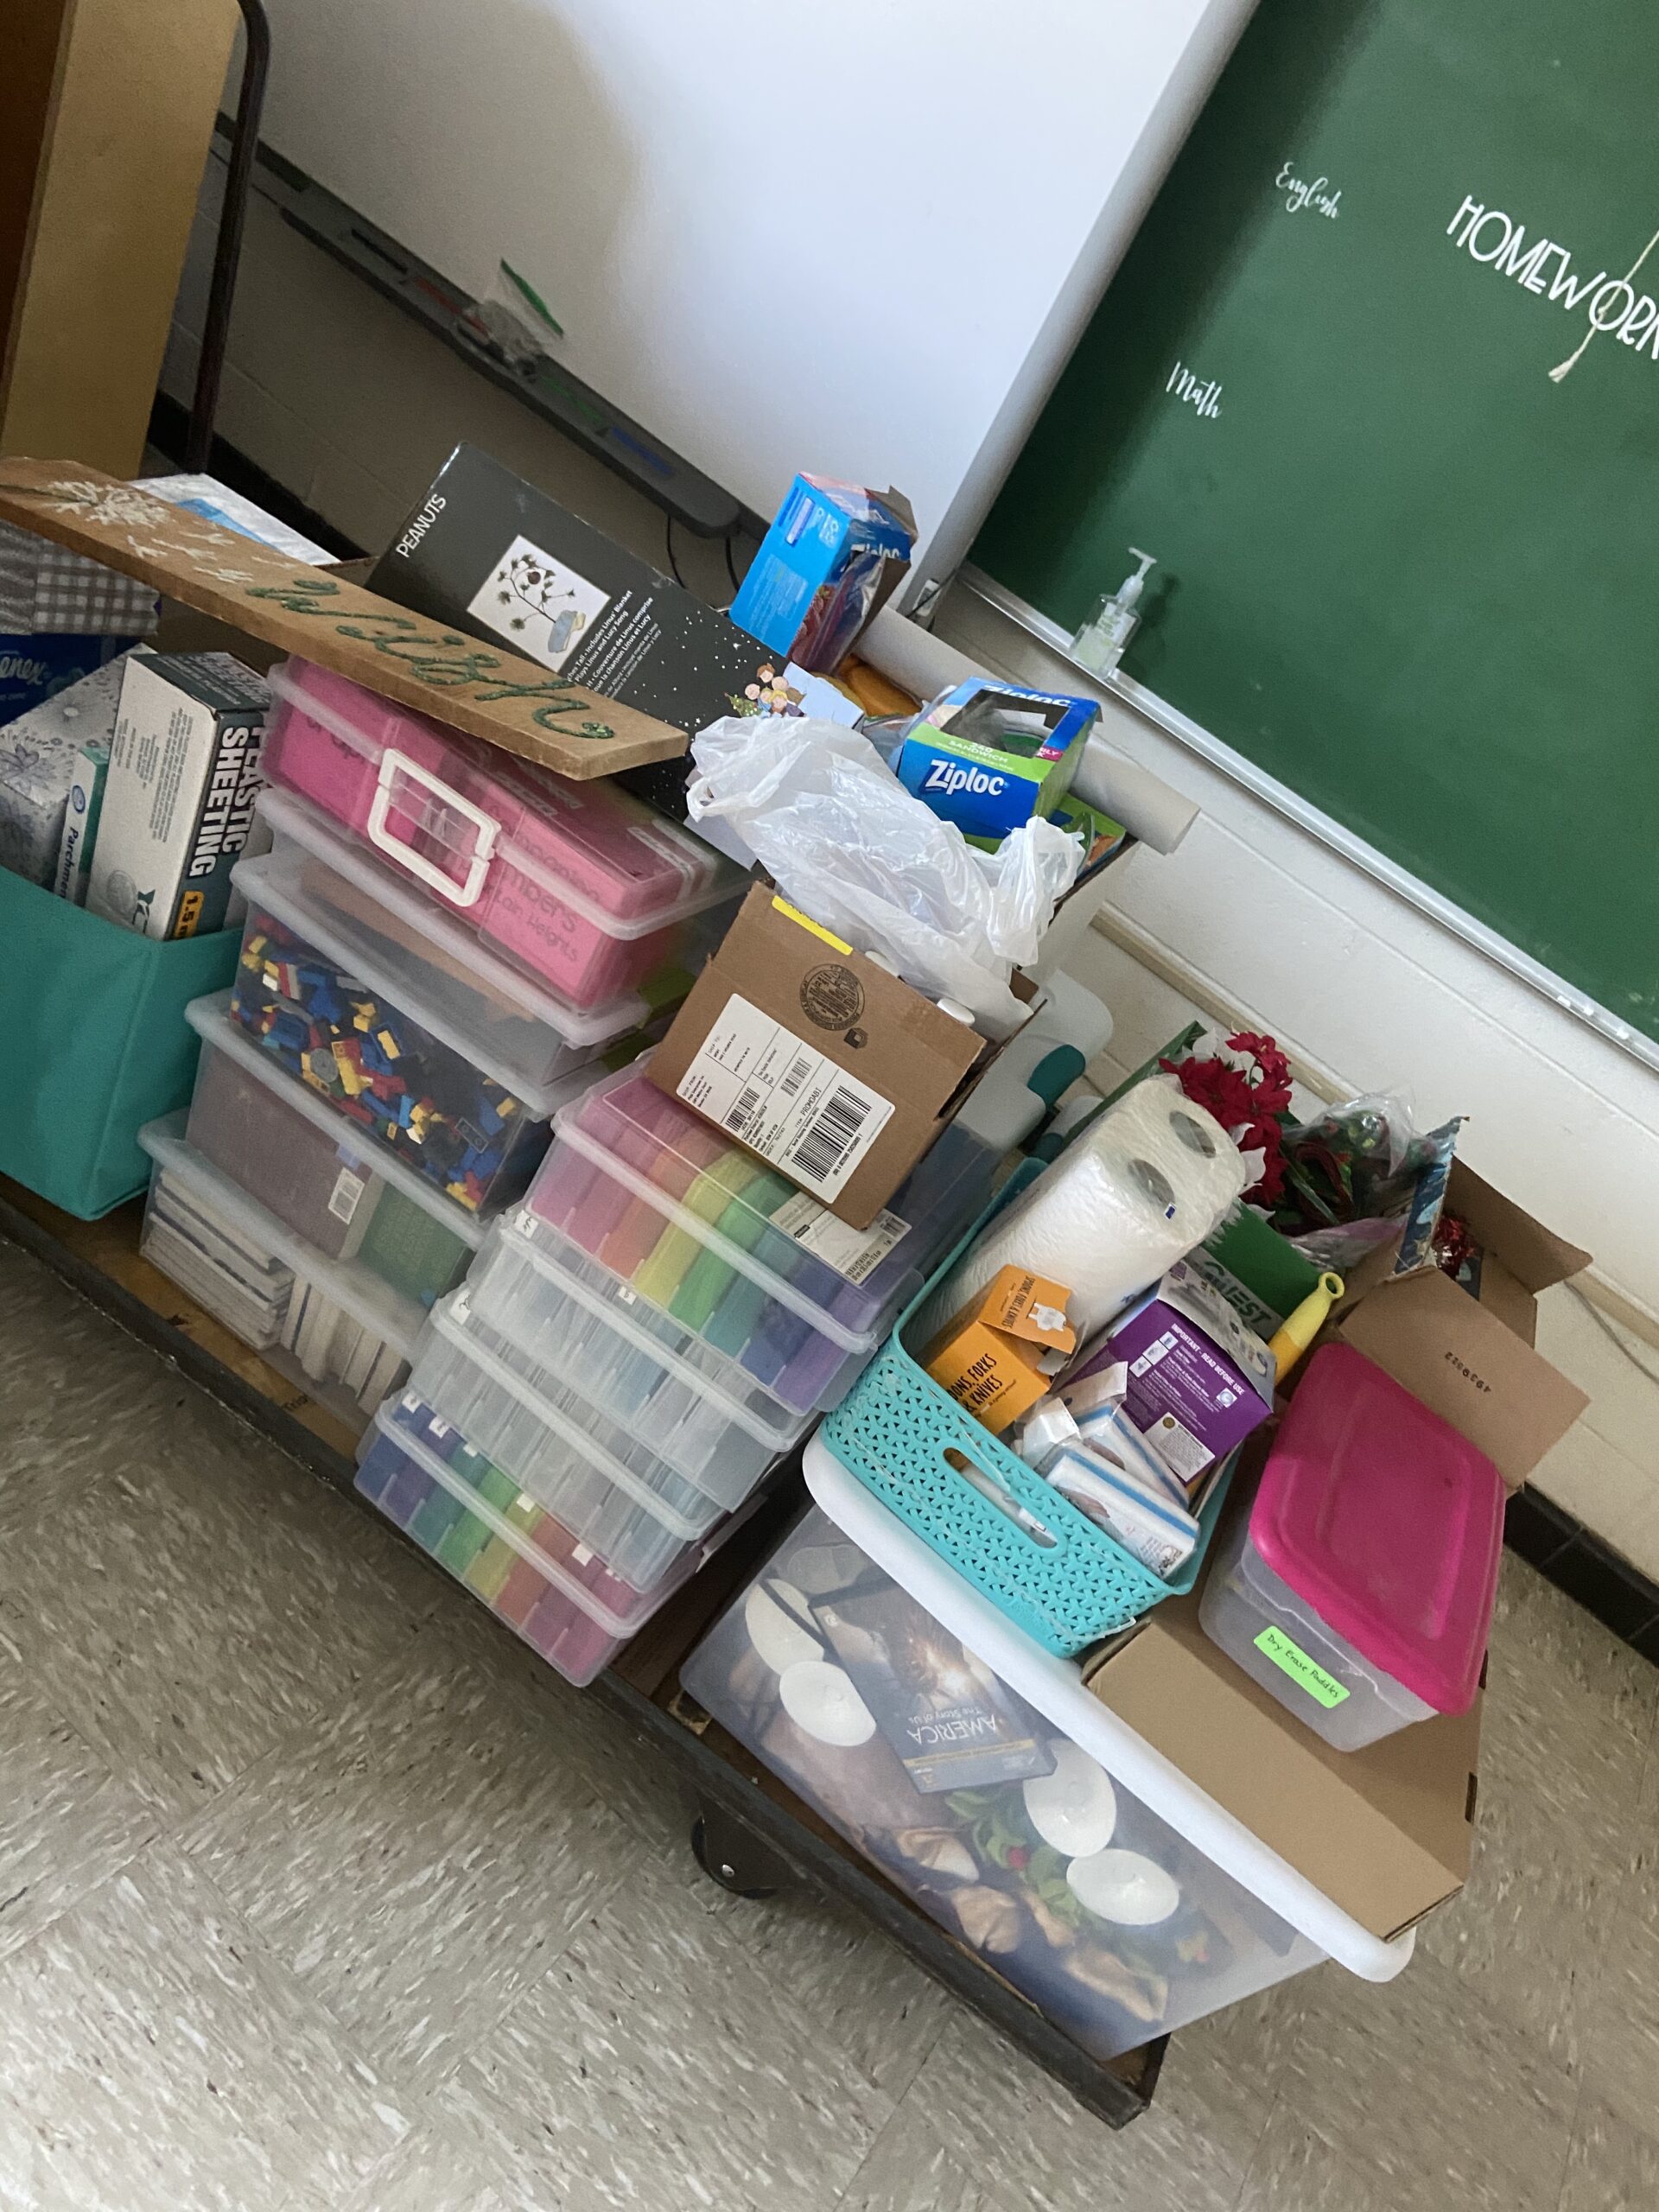
For classroom setup, whatever you need to get to first needs to be easily accessible and clearly labeled. I have one of those ubiquitous 3-tiered teacher carts (pictured). This is one of the last things I put away and I put EVERYTHING I need to unpack and start working on my room in that thing. Tape, scissors, box cutter, sharpie, phone charger, bluetooth speaker (very important), power strip, command strips…whatever I think I might need. That way when I start classroom setup, I only have one place I look first before pulling out all the other millions of boxes/drawers/etc.
Tip 3: Label. All. The. Things
Seriously. Once again, August you is not the same person who packed up the room. August you isn’t going to remember that you shoved one of the extension cords and the remotes for the lights in the drawer labeled “games” (true story – I looked everywhere for that remote).
So label everything. If you put all your decor in the drawer that holds your early finisher stuff throughout the year, throw a post-it note inside that drawer or a piece of masking tape in front saying “decor” so you know what’s in that drawer.
There is nothing worse than having to look in all 9 rubbermaid drawers every time you are looking for your big push pins or command hooks or ceiling hangers or power strips. I know. I did it and it was so annoying. So very annoying. So label everything. You folded up your curtains and put them in the box with your nonfiction books? Label it. Obviously, if you have a bin called “turn in bin” and it clearly has books in it…eh. Might not need a label. But if it is something you have to open to look at it, you need to label it.
Trust me, August you will love you for taking the extra few minutes to slap a label on whatever it is you have packed away.
Tip 4: Stake Your Claim
Technically, this tip is also about making labels. But this is for a different kind of label. This is the label to protect your stuff from growing legs and walking to the classroom down the hall.
I say this as someone who currently has stolen lamps in her classroom. My AP left them in the room I was moving to without labeling them as hers. I’m not 100% sure they were actually hers, but there was no name on them, so I assumed they were fair game for me to take (I mean, they were in my classroom…). Now when I pack up my classroom this year, I will be slapping a piece of tape on every single one of those lamps in multiple locations that says my name and room number.
Same for my non-broken rolley chair. And my bookshelf that doesn’t wobble. And my larger chairs comfortable for adult butts (I work in an elementary school, this is a thing). See, if they have to do repairs or something in my room and put stuff in the hallway along with the room across from me…I don’t want her to end up with my stuff, or my stuff to end up in the gym labeled “remove”.
Now one school I was at, we had a lot of turnover. So it was regular practice for us vets to go into the new teachers’ rooms and trade for stuff we wanted before they ever stepped foot in the classroom. Not their personal stuff, but the cleaner cubby shelves, the better chair, the good kidney table, etc. Some people, however, would see anything that made its way into the hall as fair game. I had to go collect about a table or two one year because there was confusion about how them being in the hallway so the floors could be done meant that I didn’t want them anymore…thankfully I labeled them in several locations so I could clearly say that the table was mine and reclaim it with no argument.
If you like it then you need to put your name on it. (the previous sentence is absolutely meant to be read in the style of Beyoncé.)
Tip 5: Prep for Week 1
Wait…what? I know, I know. Thinking about back to school while you pack up your room preparing for summer is the LAST thing you want to do. I know. I used to not think about it at all. But a few years ago, I started making sure my morning work/homework that I use every year was ready to go for September (we start after Labor Day). I also made the copies of the things I use the first day of school and open house – my student information forms that I set out for parents to fill in at open house, for example.
You don’t even have to make copies if you don’t want to try and guesstimate your class size. Here’s why even printing the ONE master is a good idea. That first day back, most people are not ready to make any copies. Later in the week, that copier is going to be working overtime. But the first day back? It’s barely even touched. If you have your masters ready to go in an easy to find, labeled place, you can walk your happy butt right down to the empty copier. Then later in the week when the line is long, you can saunter on by that copy room, secure in the knowledge that you’ve already taken care of that.
So as hard as it is to think about the first week of school during the last weeks, do yourself a favor. Prep those copies or those masters. Put them where you can find them. And Back-to-school you will be praising the thoughtfulness and wonderfulness of end-of-the-year you.
That’s it for this blog! Check back later for tips 6-10.

